Displaying L channel in Photoshop
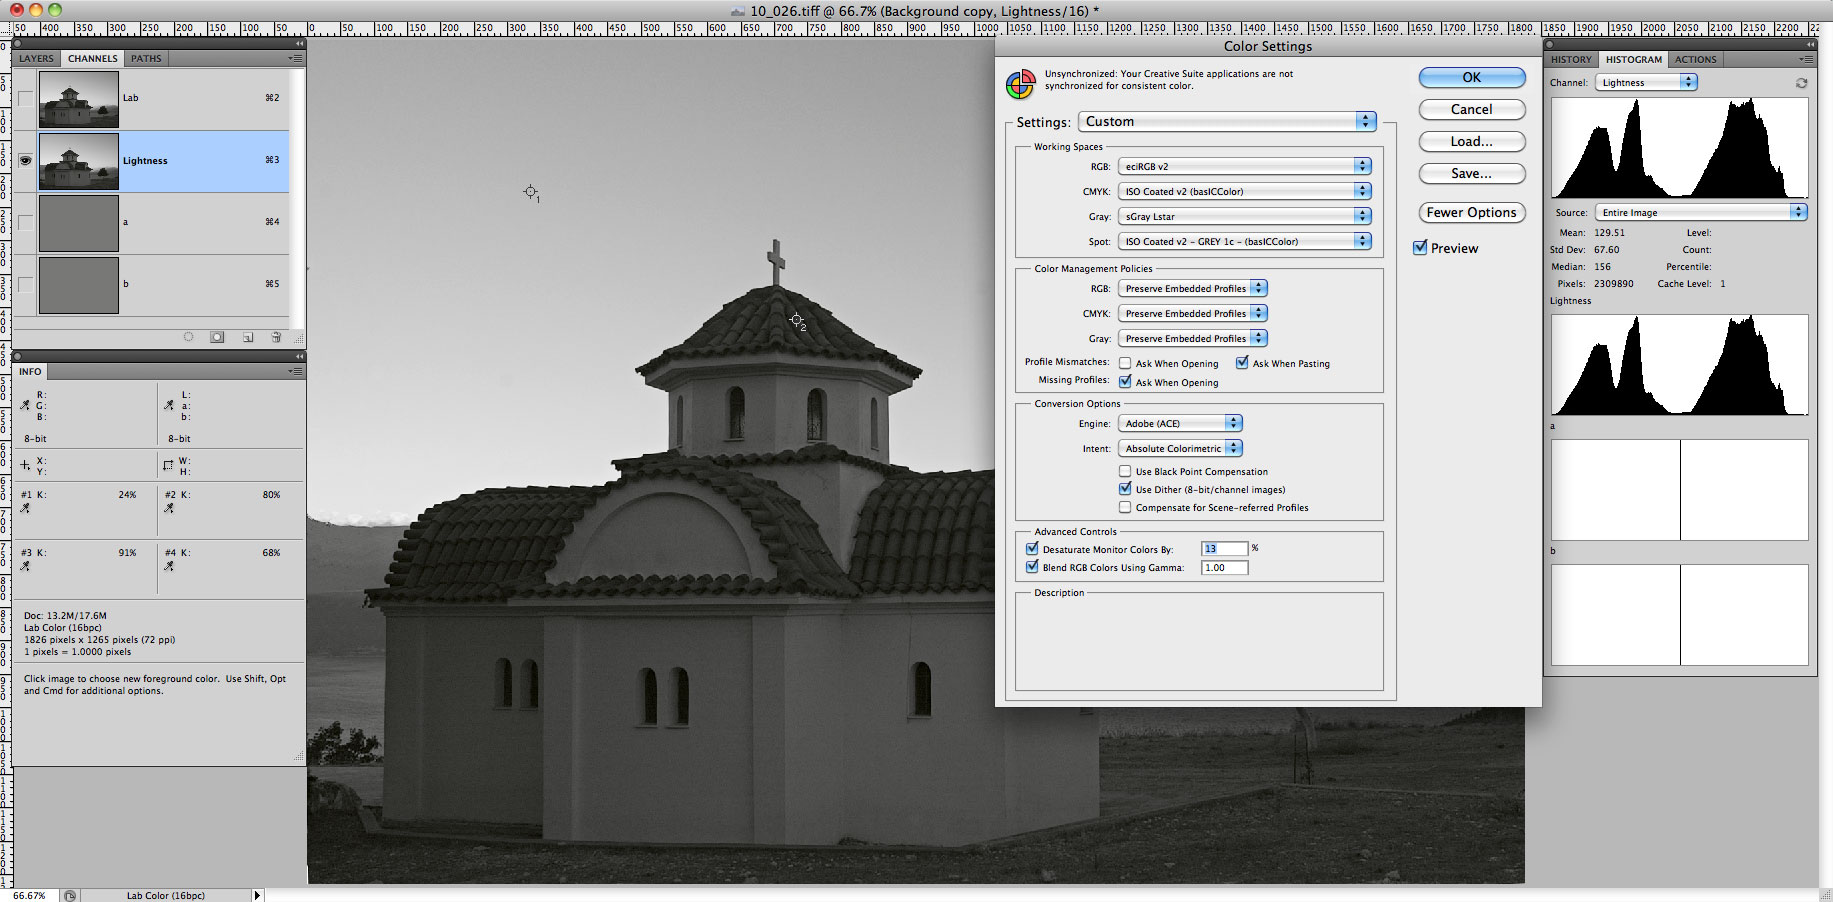
Once in a while one may want to adjust L channel viewing it separately. The rub is that to do this without using extra layers one needs either to use grey Lstar profile as grey working space in Photoshop Color Settings (Cmd/Ctrl-K), or to switch on Show Channels in Color in Photoshop Interface Preferences (Cmd/Ctrl-K). Otherwise the brightness and contrast of the L channel display are wrong.
Here are some screen shots to illustrate why one might care.
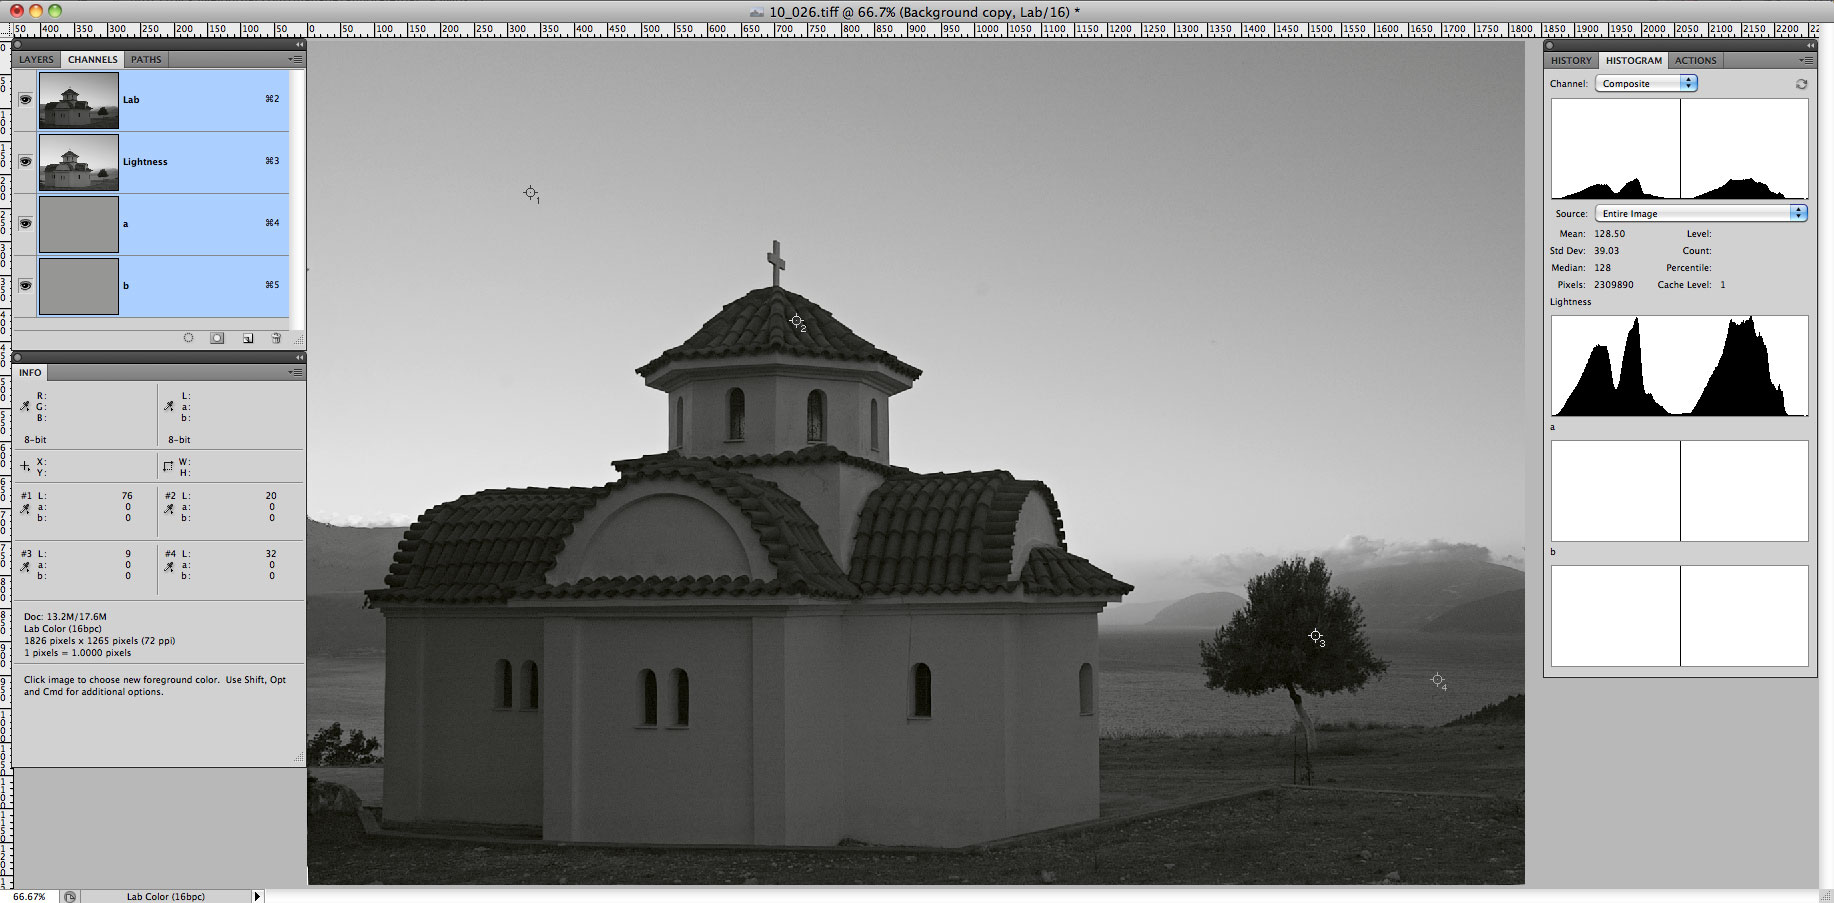
Here is a b/w image in Lab:
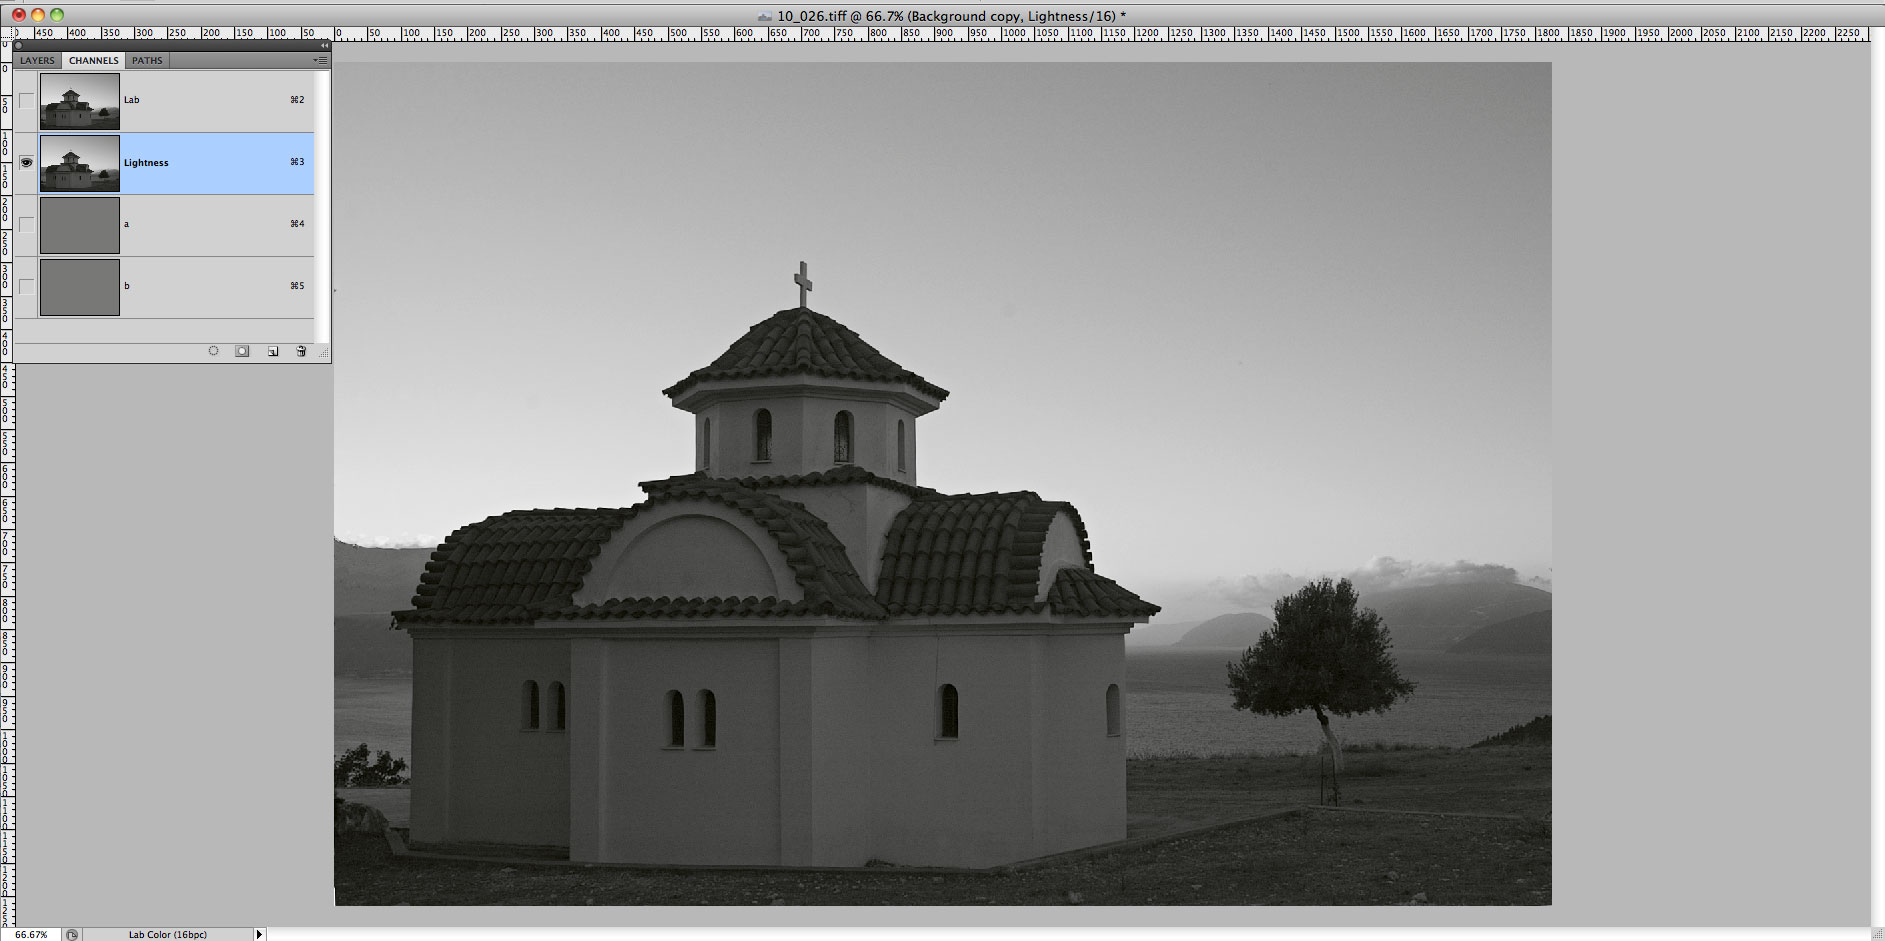
With just the L channel made visible, brightness/contrast of the display do not match the appearance of composite image above, and this is not what one shell expect:
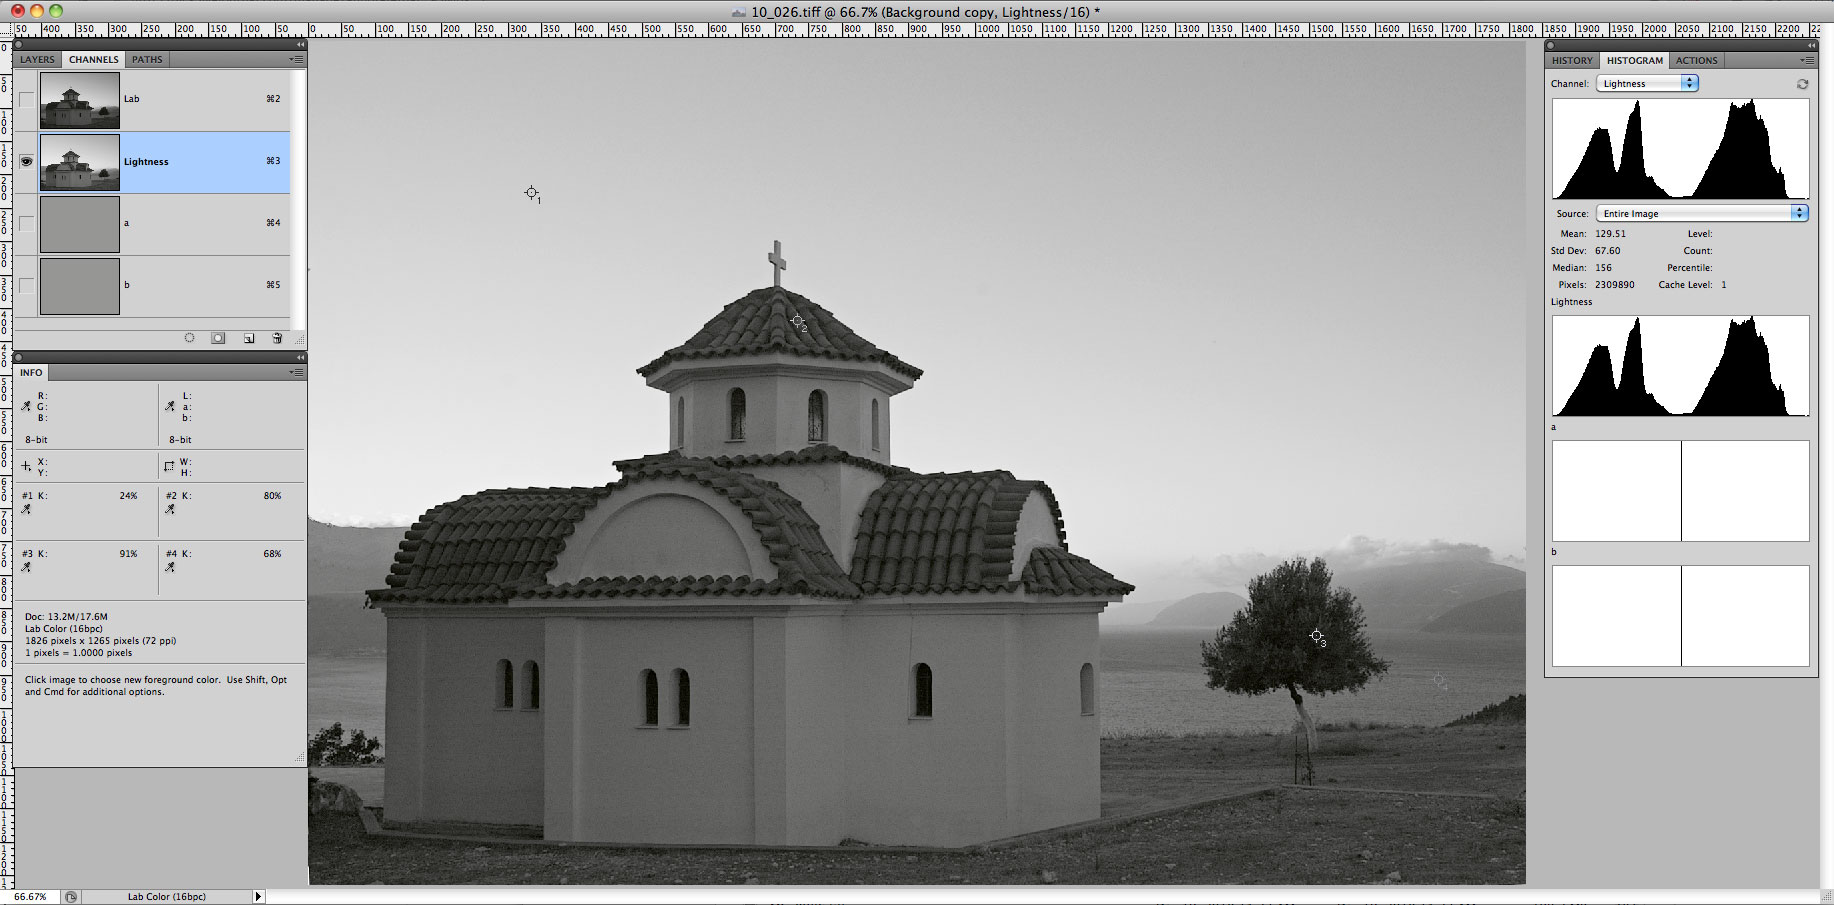
Same L channel displayed, but now grey Lstar profile is set as the grey working space:
Same as above with Color Preferences dialogue closed to make for better view, brightness/contrast match now the composite display:
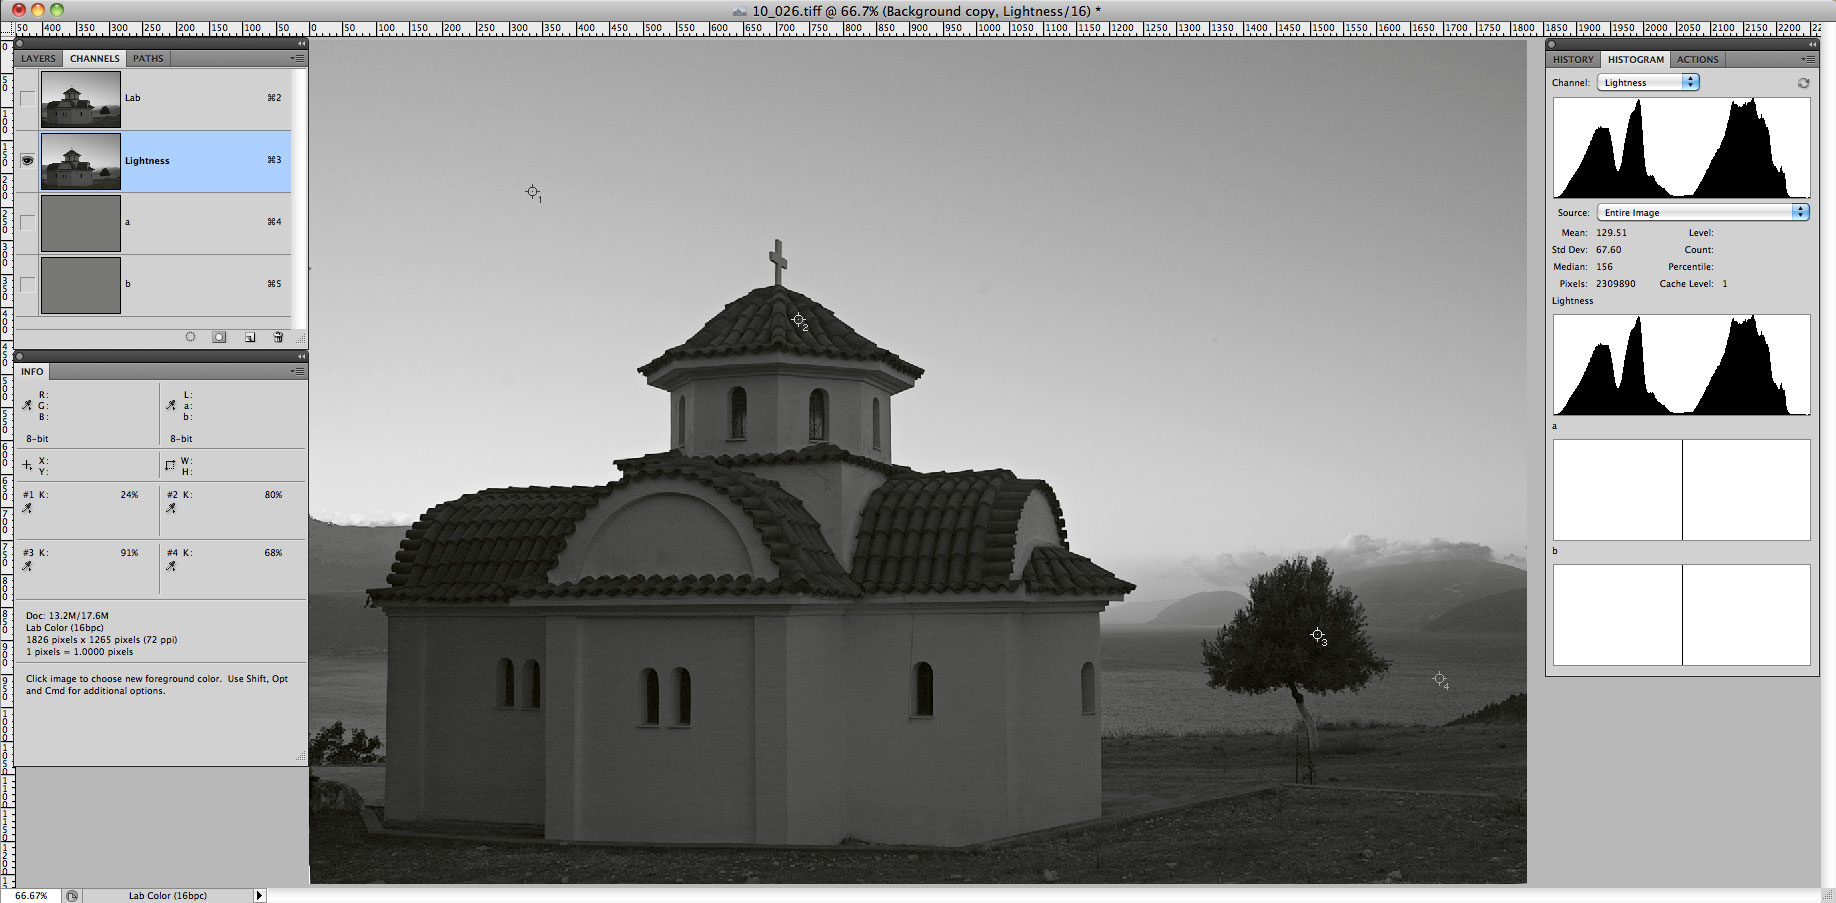
One can conclude that for per channel display purposes Photoshop assigns the grey working space to a channel to display it.
To demonstrate that Show Channels in Color overrides the profile assignment, let's drop to a ridiculously low gamma grey in Color Preferences. Now display of L channel looks totally wrong:
Now let's switch on Show Color Channels in Color:
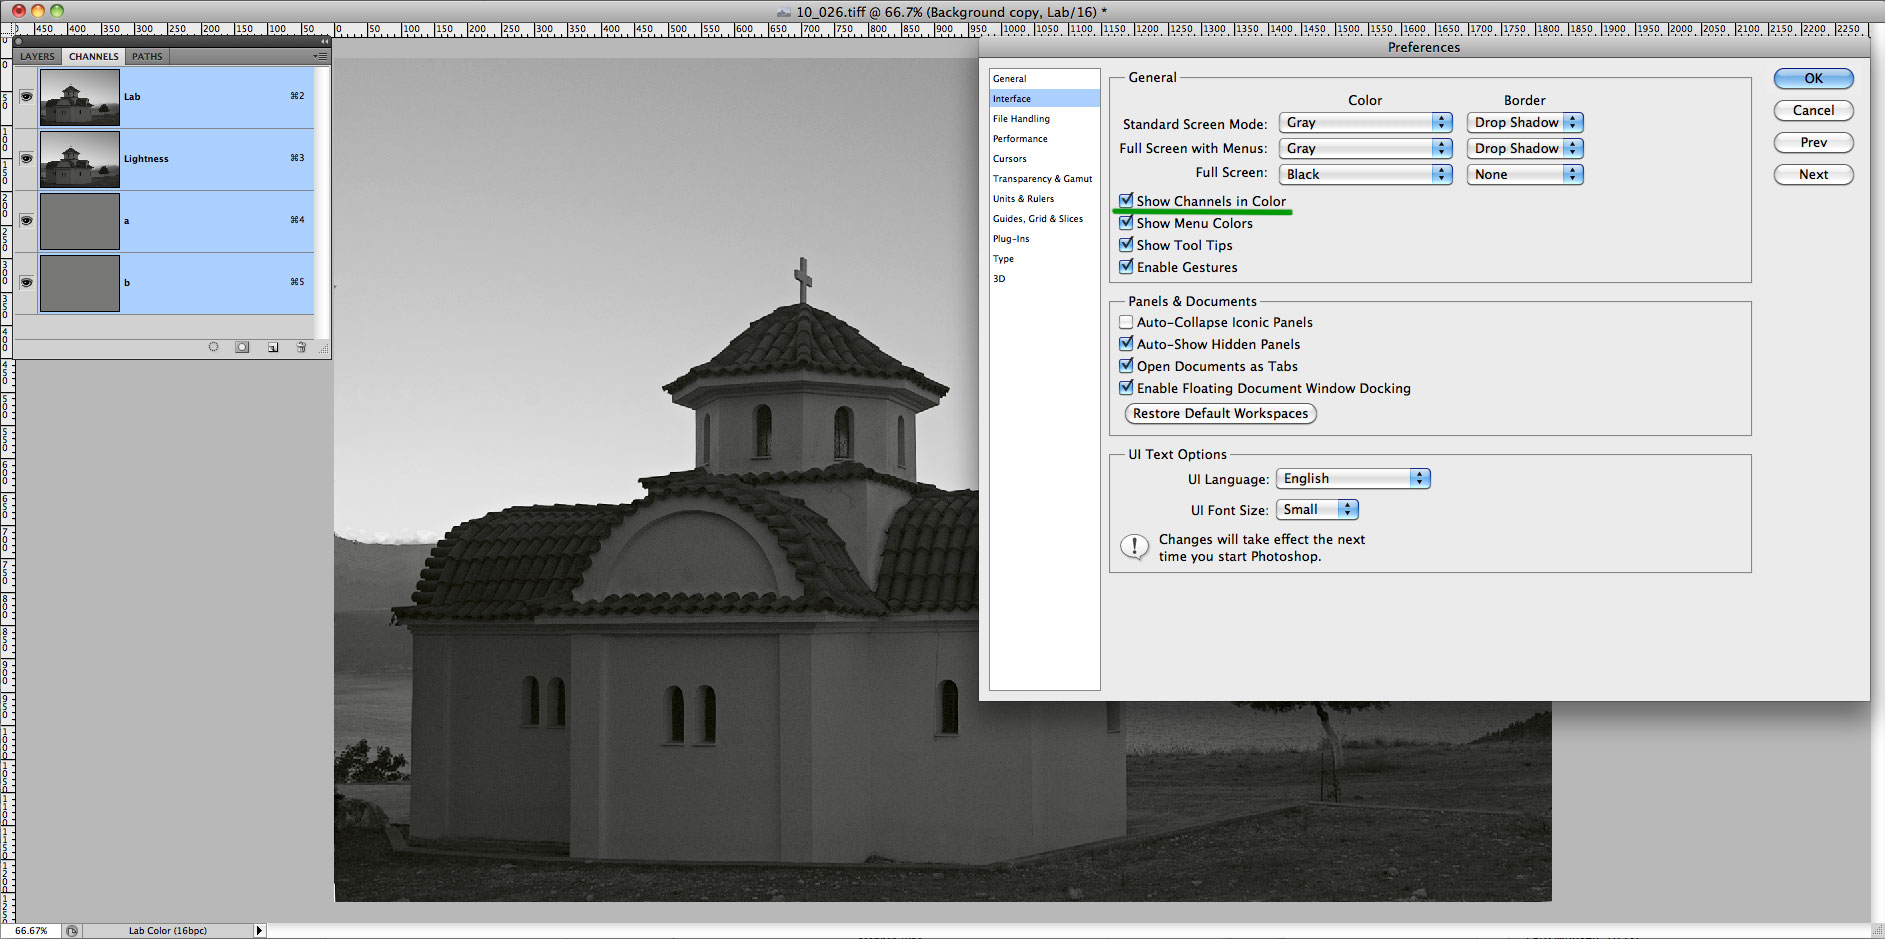
For the L channel display with grey profile set to ridiculous and Show Channels in Color switched on, brightness/contrast again match the appearance of the composite image:
So, we have two methods that allow to address the issue of correct brightness and contrast of the display of the L channel, using just Photoshop settings.
Additional data: L* (Lstar) gray profile.

Recent comments